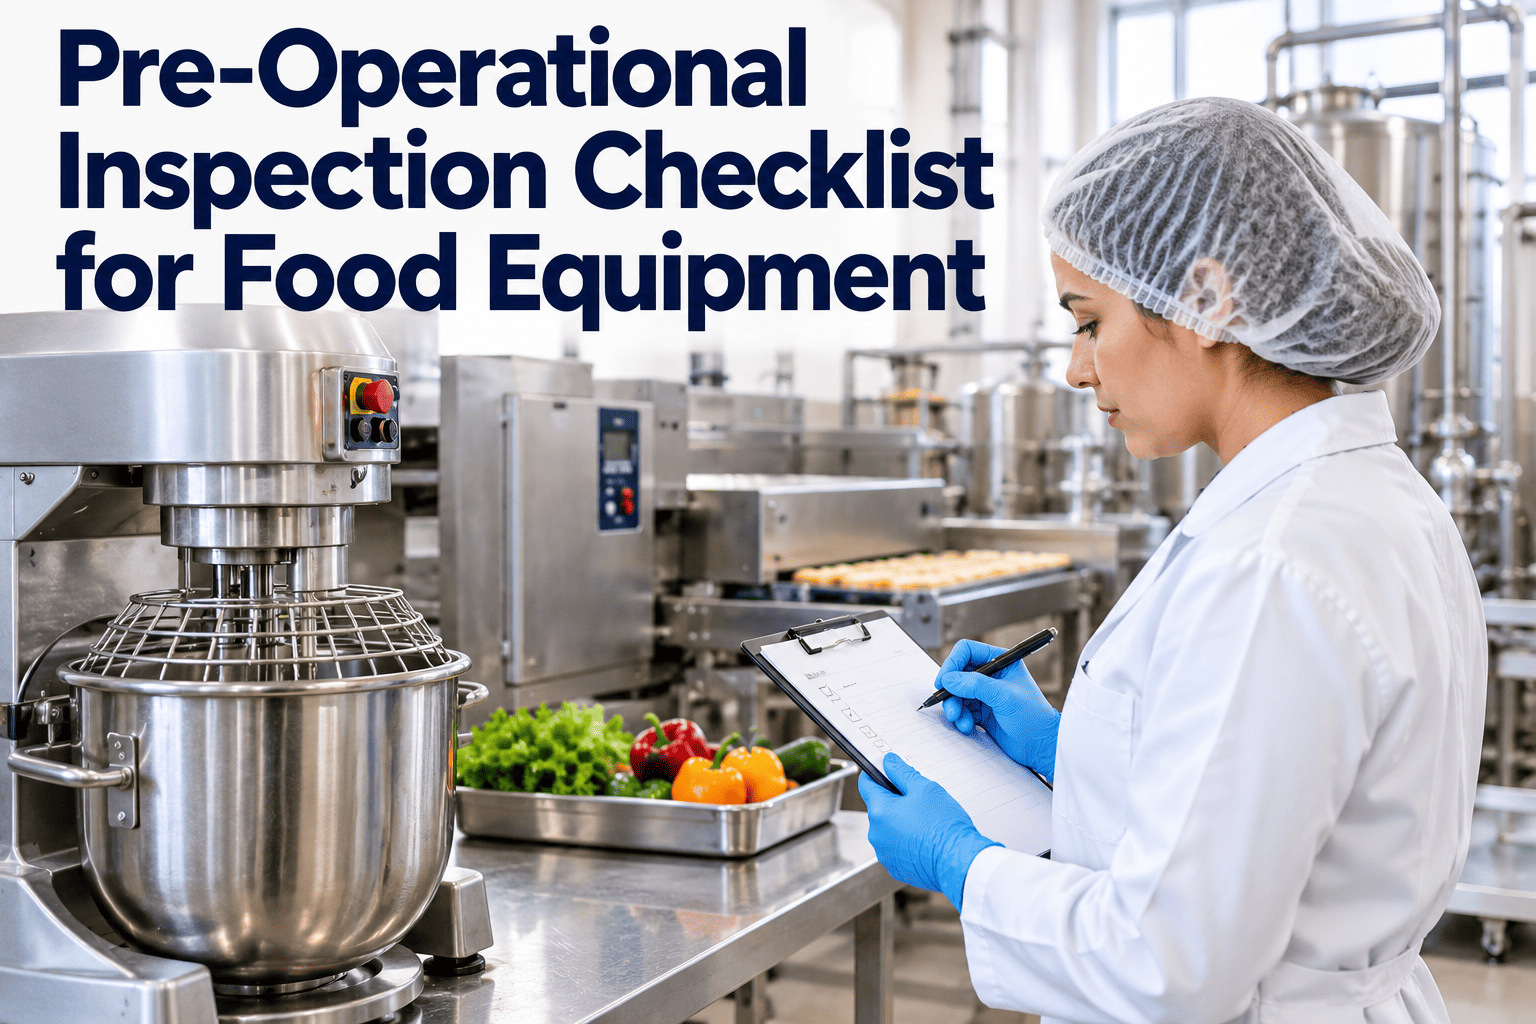
Production should never start on equipment that merely looks clean. A pre-operational inspection is the last controlled check between sanitation and the first product, and it only protects you when it is specific, timed and signed. This guide gives food plants a practical pre-op inspection checklist covering cleanliness, seals, components and dryness, along with severity rules and corrective actions. It also shows how CMMS software turns each failed item into a tracked job.
Pre-Operational Inspection Checklist for Food Equipment
A ready-to-use tick-box checklist to verify cleanliness, seals, components and dryness before startup, with critical items, findings and a signed release decision.
What a pre-op inspection must prove
Cleaning is a process, and a pre-op inspection is the verification that the process worked. In regulated meat and poultry plants, pre-operational sanitation procedures are a required part of the sanitation program, and many other food standards expect an equivalent check. The inspection should confirm four things before anything touches product.
Surfaces are visibly clean
Product-contact and nearby non-contact surfaces are free of soil, residue, biofilm indicators and foreign material.
Equipment is assembled correctly
Guards, seals, gaskets, blades and screens are present, undamaged and seated as designed.
Conditions are safe to run
Lockout is cleared, utilities are ready and no maintenance work is still open on the line.
Findings are acted on
Failures are re-cleaned, repaired or escalated and then re-inspected before release.
Tick-box checklist: walk the line in this order
Mark every row as Pass, Fail or N/A while you stand at the equipment. Any Fail on a Critical row means the line stays on hold until it is corrected and re-inspected.
Readiness and documentation
| No. | Inspection item | Type | Pass | Fail | N/A | Notes |
|---|---|---|---|---|---|---|
| A1 | Sanitation record for this line is complete, signed and shows finish time | Critical | ||||
| A2 | Related maintenance work orders are closed, with parts and actions recorded | Critical | ||||
| A3 | Lockout and tagout devices are removed and clearance is recorded | Critical | ||||
| A4 | Previous product, next product and allergen status are entered on the form | Critical | ||||
| A5 | Cleaning chemicals used and sanitizer concentration check are recorded | Standard |
Product-contact surfaces
| No. | Inspection item | Type | Pass | Fail | N/A | Notes |
|---|---|---|---|---|---|---|
| B1 | Belts, trays, hoppers and chutes are free of residue and film | Critical | ||||
| B2 | Blades, nozzles, fillers and screens are clean and undamaged | Critical | ||||
| B3 | Weld seams, corners and crevices show no trapped soil | Critical | ||||
| B4 | No chemical residue, foam or odor remains on surfaces | Critical | ||||
| B5 | Underside and hidden surfaces checked with light or mirror | Critical | ||||
| B6 | Utensils and bins assigned to the line are clean and stored correctly | Standard |
Seals, gaskets and guards
| No. | Inspection item | Type | Pass | Fail | N/A | Notes |
|---|---|---|---|---|---|---|
| C1 | Gaskets are present, flexible, uncracked and fully seated | Critical | ||||
| C2 | Shaft and bearing seals show no leaking lubricant or product | Critical | ||||
| C3 | Guards and covers are fitted and fasteners are tight | Critical | ||||
| C4 | Removable parts are reassembled in the correct position | Critical | ||||
| C5 | Clamps, hoses and fittings are secure with no drips | Standard |
Components and controls
| No. | Inspection item | Type | Pass | Fail | N/A | Notes |
|---|---|---|---|---|---|---|
| D1 | Sensors, scales and metal detectors are clean, in place and responding | Critical | ||||
| D2 | Emergency stops and interlocks work when tested | Critical | ||||
| D3 | Operator panel and touch screens are clean and dry | Standard | ||||
| D4 | Required settings and recipes are correct for the next product | Standard | ||||
| D5 | Tools, spare parts and temporary repair materials are removed | Critical |
Dryness and environment
| No. | Inspection item | Type | Pass | Fail | N/A | Notes |
|---|---|---|---|---|---|---|
| E1 | No standing water in pans, frames or drains next to the line | Critical | ||||
| E2 | No condensation or drips falling toward open product zones | Critical | ||||
| E3 | Overhead pipes, lights and structures are clean | Standard | ||||
| E4 | Floor, drains and walls near the line are clean and free of debris | Standard | ||||
| E5 | Waste bins are emptied and clean | Standard |
Foreign material and personnel
| No. | Inspection item | Type | Pass | Fail | N/A | Notes |
|---|---|---|---|---|---|---|
| F1 | Area is free of loose items such as wire, tape, fasteners and packaging | Critical | ||||
| F2 | Brittle plastic, glass and ceramic items in the area are intact or removed | Critical | ||||
| F3 | Hand wash and sanitizing stations are stocked and working | Standard | ||||
| F4 | Staff entering the line follow hygiene and PPE rules | Standard |
Record failures, corrections and the release decision
Every Fail from the checklist must appear here with an action and a passing re-inspection before the line can be released.
| Item no. | Finding and location | Severity | Corrective action and by whom | Re-inspection time | Result |
|---|---|---|---|---|---|
| Example B5 | Residue on underside bracket of infeed belt | Critical | Re-cleaned and sanitized by sanitation crew | Time and initials | Pass |
Deciding what a finding means
Not every defect should stop the line, and not every defect can wait. A severity scale gives inspectors a consistent response.
| Severity | Example finding | Required response | Release decision |
|---|---|---|---|
| Critical | Visible product residue, allergen carryover, missing guard, broken seal on a product-contact part | Re-clean or repair, then full re-inspection by a second person | Hold until cleared |
| Major | Pooled water, damaged gasket, leaking lubricant near product zone | Correct before startup or isolate the affected section | Hold the section |
| Minor | Light film on non-contact frame, loose label, cosmetic wear | Correct within the shift and track to closure | Release with note |
| Observation | Early wear, repeated recurring soil point | Open a maintenance or sanitation improvement task | Release |
A realistic startup window
Inspections fail when they happen in the last five minutes before production. Build in time for correction.
Sanitation complete
Sanitation lead confirms cleaning and rinsing are finished and logs the time.
Maintenance clear
Maintenance confirms repairs are closed and lockouts removed.
Inspector walk-through
Qualified inspector follows the route and marks each item.
Correct and re-check
Failures are fixed and re-inspected, with a new time stamp.
Release and start
Authorized person signs and production begins.
Where equipment most often fails pre-op
These recurring points deserve extra attention on the route and often justify design or maintenance fixes.
Hidden underside surfaces
Frames, brackets and the underside of conveyors collect soil that is not visible from standing height. Use a flashlight and a mirror when a design hides surfaces.
Worn seals and gaskets
Cracked or hardened gaskets trap residue and allow ingress. Replace on a preventive schedule instead of waiting for a failed inspection.
Dead legs and fasteners
Open bolt threads, hollow frames and unused mounting holes hold moisture and product. Seal or retire them during planned shutdowns.
Supporting methods that strengthen the inspection
Visual inspection is the foundation, but many plants add verification tools where risk is higher. Choose methods that fit your hazard analysis and record the results alongside the checklist.
| Method | Best used for | Limitation to remember |
|---|---|---|
| Visual and touch inspection | Gross soil, residue, damage, missing parts | Cannot see microbial contamination or thin films |
| ATP swab | Rapid indication of organic residue on hard-to-judge surfaces | Needs defined limits and consistent swabbing technique |
| Allergen swab or lateral flow test | Verifying cleaning after an allergen changeover | Applies to the specific allergen and sampling points chosen |
| Microbiological swab | Periodic verification of the overall sanitation program | Results arrive after production has started |
| Sanitizer concentration check | Confirming chemical strength before use | Does not prove the surface was clean first |
Extra attention after allergen and product changeovers
A normal pre-op inspection can pass a line that still carries an allergen from the last run. Changeovers need stricter criteria and a second set of eyes.
Before the changeover
- Confirm the production schedule and the allergen status of the next product.
- Identify equipment that is difficult to clean and plan extra time for it.
- Gather the approved cleaning procedure and verification tools.
- Assign a qualified inspector who was not part of the cleaning team.
At inspection
- Open and inspect hidden points such as dead ends, hollow rollers and screens.
- Verify any required allergen test before release.
- Record the previous product, next product and decision.
- Require a second signature for allergen-related releases if your plan demands it.
Responsibilities across sanitation, maintenance and quality
The pre-op inspection sits between three teams. Clear ownership prevents the line from waiting while each group assumes another has acted.
| Team | Before inspection | During inspection | After inspection |
|---|---|---|---|
| Sanitation | Complete cleaning and rinse, record chemicals and times | Support access to opened components | Re-clean failed items and request re-inspection |
| Maintenance | Close repairs, remove lockout, return tools | Answer questions on repairs and part condition | Fix defects and update the work order |
| Quality | Maintain the checklist and criteria | Inspect or verify, record decision | Review trends and approve procedure changes |
| Production | Hold start until release | Confirm product and line readiness | Report any issues found during startup |
What makes a mobile pre-op form usable on the floor
Inspectors work with wet gloves, poor lighting and little time. The form should respect that and still capture enough detail to be useful.
Short and ordered
Group items by physical route, use pass, fail and not applicable choices, and keep each item to one clear question.
Evidence on demand
Require a photo and note for any failed item so the follow-up team can see the problem without walking over.
Locked sign-off
Prevent release until all critical items pass, and time stamp each signature so the order of events is clear.
What a well-completed finding looks like
The difference between a useful record and a vague one is detail. Compare the two entries below for the same issue.
Weak entry
- Line 2 not clean, fixed.
- No time, no item, no initials of the person who re-checked.
- No follow-up for the underlying cause.
Strong entry
- Line 2 infeed conveyor, underside frame bracket, product residue, critical.
- Re-cleaned and sanitized at the stated time, re-inspected and passed by a named inspector.
- Observation raised for a design fix so the bracket collects less soil.
Why the same pre-op failures keep returning
Repeated findings usually point to a cause beyond cleaning effort. Reviewing them quarterly often reveals a short list of fixes that remove many failed inspections.
Time pressure
Sanitation windows that are too short push crews to skip hard-to-reach areas.
Equipment design
Hollow frames, flat ledges and tight corners hold soil and moisture.
Worn components
Damaged belts, gaskets and seals trap residue that no cleaning method fully removes.
Unclear standards
Crews and inspectors apply different definitions of clean without reference photographs.
What an auditor is likely to ask about your pre-op records
Prepare for these questions by testing your own records first. If an answer takes more than a minute to find, the system needs work.
- Who is authorized to perform and sign the inspection?
- Where is the written procedure and when was it last reviewed?
- Can you show the last thirty days of records for one line?
- How do you decide that equipment is acceptable to run?
- What happens when an inspection fails and who verifies the correction?
- How do you prove a repair did not leave debris or tools behind?
- How are recurring failures reviewed and what changed as a result?
- How are records kept secure and retrievable for the required period?
Habits that keep the release decision trustworthy
A signature is only as reliable as the habits behind it. These practices protect the integrity of every release decision.
Never sign in advance
- Do not pre-fill sheets or tick items before walking the route.
- Do not release on a verbal assurance that repairs are closed.
- Do not let the person who cleaned the line approve their own work.
- Do not remove a hold without recording who lifted it and why.
Make every failed item a tracked job
Run pre-op checklists on mobile, capture findings with notes and route repairs to maintenance without a hallway conversation.
Documenting what happened after a fail
A failed inspection is not a problem. An undocumented fix is. Record the response so the history can be reviewed later.
Record every time
- The item, location and severity of the finding.
- Who corrected it and how, including chemicals used.
- The time of the re-inspection and the person who passed it.
- Any product on hold and the disposition decision.
Escalate when
- The same item fails three or more times in a short period.
- A defect may have affected product from the previous run.
- Repairs require a part, outside contractor or longer downtime.
- Allergen control may be compromised.
How Oxmaint connects the checklist to the work behind it
Pre-op findings often have a maintenance root cause. Linking both teams in one system shortens the path from finding to fix.
| Pre-op finding | Maintenance response | Oxmaint capability |
|---|---|---|
| Cracked gasket on filler | Replace gasket, record part and verify seating | Corrective work order with parts from inventory |
| Recurring leak at a bearing | Inspect seal, review lubrication, plan repair | Asset history and preventive maintenance task |
| Guard missing after repair | Reinstall, confirm lockout cleared | Work order closure checklist |
| Water pooling under a conveyor | Check drainage, slope and covers | Inspection finding linked to the asset |
| Rising number of fails on one line | Review trends and prioritize upgrades | Reports and dashboards by line |
Metrics that show the pre-op program is working
Trend a few indicators each month and share them across sanitation, maintenance and quality.
First-pass rate
Share of inspections that pass without rework, by line and shift.
Time to correct
Minutes from a failed item to the passing re-inspection.
Repeat findings
Items that fail again within a set number of days.
Delayed starts
Production starts later than planned because of inspection holds.
Getting inspectors consistent
Two inspectors can walk the same line and disagree. Calibrate them the same way you calibrate instruments.
Define pass and fail
Use photographs of acceptable and unacceptable conditions for common points, and keep them attached to the checklist.
Qualify the inspector
Record training on the procedure, allergen controls and the specific line, and limit sign-off to authorized people.
Review together
Hold a short monthly review where the team compares findings and adjusts criteria for unclear items.
Pre-operational inspection checklist FAQs
Who should perform the pre-op inspection?
A trained person who did not perform the cleaning, ideally from sanitation supervision or quality. Your food safety plan should name authorized roles.
How long should an inspection take?
It depends on line complexity. A fixed route and clear criteria keep it efficient, and the schedule should include time for corrections before startup.
Do I need a separate checklist for each line?
Usually yes. Equipment differs, so create a template per line or equipment type, then manage them centrally in Oxmaint.
What if maintenance is still working on the line?
The line should not be released. Require the work order to be closed and lockout cleared first, and book a demo to see that workflow.
How long should records be kept?
Follow your regulator, customer and certification requirements. Many plants keep daily records for at least a year or longer, so confirm yours.
Start every shift with proof the line is ready
Bring pre-op inspections, corrective actions and maintenance follow-up into one traceable workflow.


